Author Archives: Colleen Kole

Lines Study #1 on the Barn

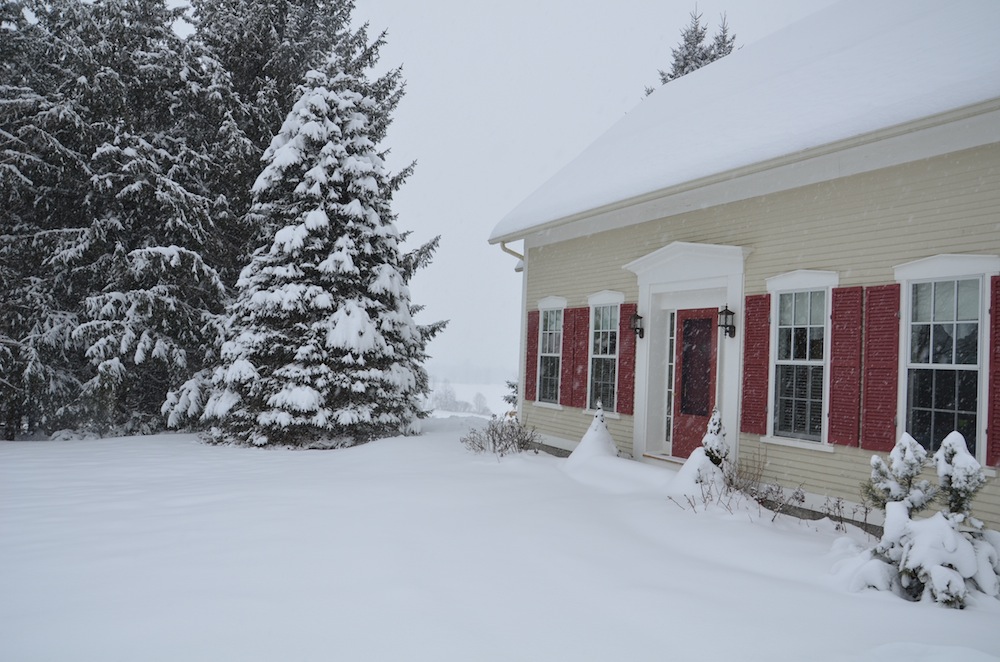
      This is a great way to start 2013 with one workshop exercise completely pieced. I was unable to make the last cut as I only have one cutting mat here which is only 24×36. Well, I could have done it but I really didn’t want to make that last cut in error.

©2013, Colleen Kole, Textiles. Line Study #1 on the Barn, 52×72

©2013, Colleen Kole, Textiles, Line Study #1 on the Barn, 52x 72
©, Colleen Kole,  Textiles, Line Study #1 on the Barn, 52×72
©, Colleen Kole, Textiles, Line Study #1 on the Barn , 52 x72

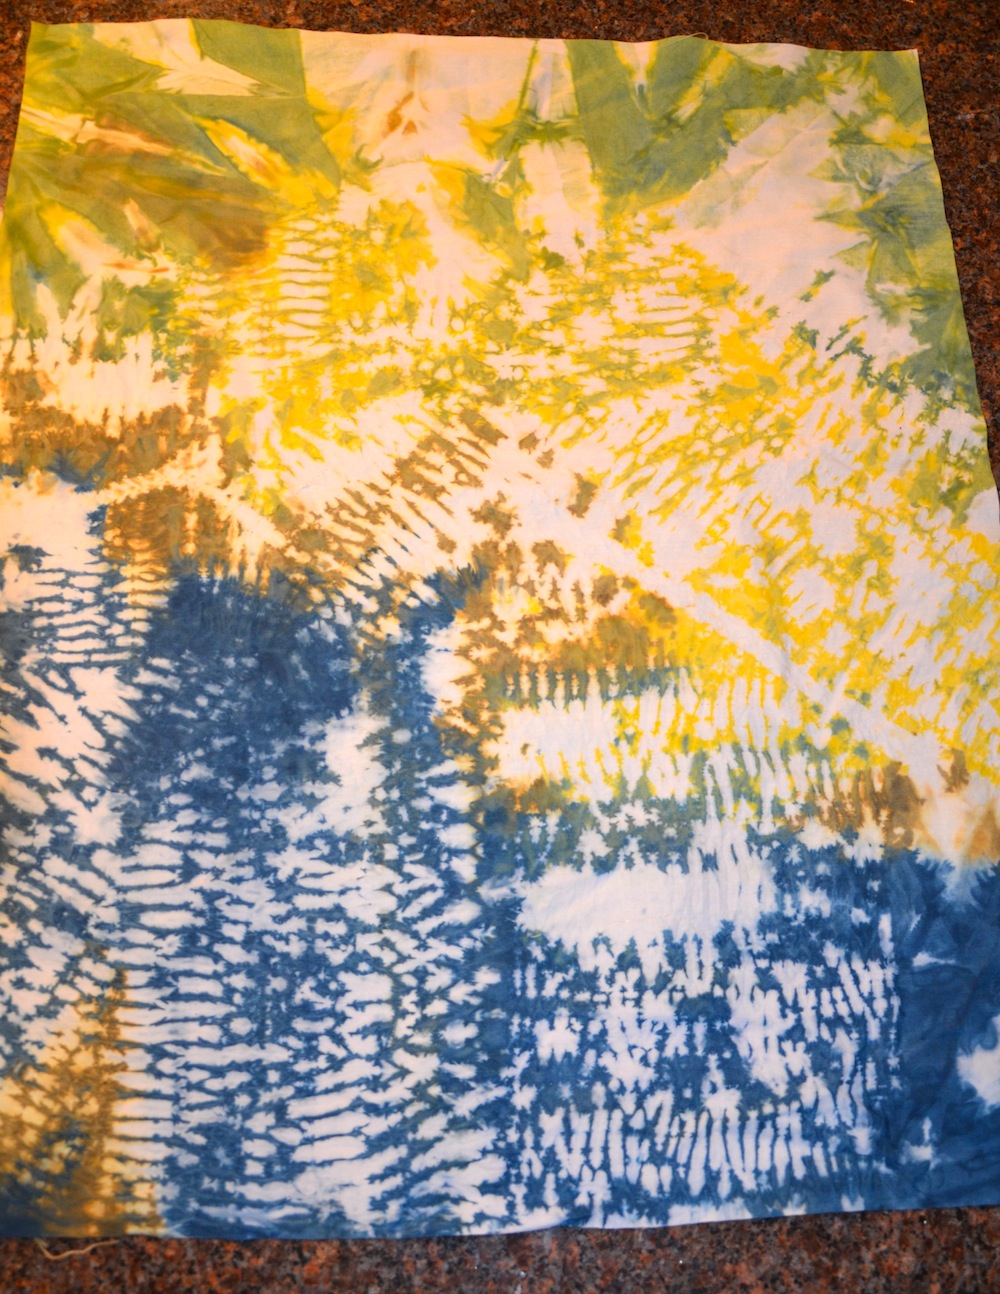
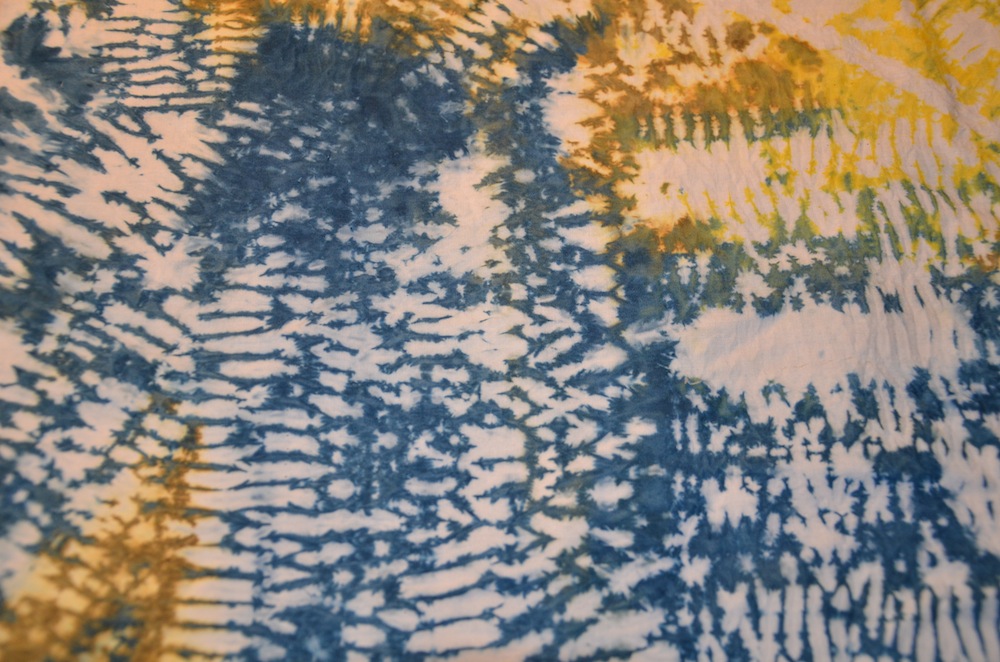
This was started in Sets and Variables #3 in October with the wonderful Nancy Crow teaching. This was an exercise varying line, shape and a value gradation. I hesitate to tell you more as that is part of the intrigue of taking her classes -not knowing exactly what the exercise is before you are there.  I can’t wait to do more lines. Love them.

 I think I have 7 more workshop quilts from 2012 and I need to decide what is necessary for me to complete. Maybe they were truly just exercises and I need to take the ideas and move on.

Now to decide how to quilt it.

For Those Missing Snow

tempting view from my sewing machine 

downtown Stowe

Stowe Community Church steeple

snow and more snow

You can’t even see the mountains between the house and the trees.

Lucy just wants to sit in the snow

    I have snow for you here in Vermont.

    The last few years have been all about the learning but now it’s about the making and doing.  But today is for having fun ,  just enjoying the family and the snow. Happy New Year and thanks for reading and checking in with me the past year.  I appreciate the  new connections and the friendships I have made.

HAPPY NEW YEAR!

Working Away in Vermont

      I traveled to Vermont the day after Christmas. We have a houseful for the vacation so lots of cooking has been involved but also lots of great snow so the family is skiing and playing in the snow.

     And I am back to sewing. I started with working on my free motion quilting. I really want to find a way to make the quilting aspect of it less tedious. So I will dedicate specific time over the next few months to work on it every time I am in the studio.

   I made a small bag out of this sample so I could document : the beginning.

     I also realized I would need a big design wall to work on the next project. So, I took a trek to the hardware store and came home with a 2″x 4 ‘x 8’ piece of insulation.

      I covered it with flannel and am working on a Sets and Variables # 3 workshop piece. It hopefully will be pieced tomorrow. It’s been great to be back to sewing!

Merry Christmas To You

   
     Merry Christmas to you and yours.  I hope you took time to celebrate the birth of Jesus today. We had a quiet day celebrating with just the five of us for the first time ever. My mom stopped over later in the day.  I received this cute little Santa in my stocking. I am grateful for all I have been blessed with.

     My prayer is for peace, kindness and more gentleness in the world in the New Year.

     Again, Merry Christmas!


I"ve Been To Mars

     Last week,  a friend and I traveled to Muskegon, MI  to take one last workshop for 2012:  Lines, Curves and Figure Ground taught by Nancy Crow. It was given by the Muskegon Museum of Art in conjunction with the exhibition titled: Innovators and Legends.

The exhibit: Excellent venue and very fine textiles from some of the great legends. Opening night was Thursday so it was great to take a break from the huge final project and be inspired by lots of different styles of work. If you have the opportunity, you need to see this. It is traveling to the Schweinfurth after this venue.

 The first book is a exhibit catalog. (The second book is a book showcasing Nancy’s new monoprinting work that I bought at the workshop directly from her).

The workshop: As always, it was intense. The pace is fast, the mind spins with new ideas and the hands struggle to do the work as quickly as possible. I found this workshop really enjoyable. I am very excited to incorporate curves into my pieces as I truly never knew how to do curved piecing. I always marvel at the gals who have grown up sewing garments as they never struggle with the piecing. This is a shot of the first exercise before I started piecing it.

Unpacking: not done yet.

I kept leaving class and would hear Christmas music playing.  I felt really oblivious to the season. But when I got home, I felt like I had been to Mars for a week and dropped right back in to the Christmas season.

It was a great time with Nancy, old friends and new friends. Fantastic memories.

Now back to the season .

Sue Nickels at the WMQG

     I had another great privilege this week via our local quilt guild, the West Michigan Quilt Guild. Every two months our guild brings in a teacher and this month was two days of classes by the wonderful Sue Nickels. Sue is a traditional quilter and has been involved for over twenty years in teaching machine quilting. Her classes and lectures routinely sell out when she is at the national conventions.

     Two classes were offered: Machine Quilting Essentials and Machine Quilting Flower Basket Appliqué. I took the machine quilting class since my next goal is improving my free motion quilting skills. Sue is thorough and very attentive to detail as is evidenced in her workmanship.

Sue Nickels beautiful quilts

Sue Nickels: Day 2 Demo

It was nice to spend time with traditional quilters and a traditional teacher as their craftsmanship is so amazing. I have to say I was a little discouraged at the end of the machine quilting workshop(something else to work on….:) and Sue immediately gave all of us a pep talk. I think the biggest thing I took away is that machine quilting is a learned skill.

 I will take her advice on the the 3 P’s she coached us with : patience, perseverance and practice.

I can’t imagine drawing a design and then quilting it, but you never know. I never plan that much when I quilt. But I was very happy to gain a little knowledge in machine quilting and happy as can be with Sue as a teacher. If you ever have the opportunity, don’t hesitate to take her workshops!

Wonder how many years I will need to work on this skill:).

A Month Full of Thanks

     I love the month of November. I realized over the past few years  I have gradually made it my month of making and doing for others. I am blessed by all I have, so why not help others?

I have had a boatload of fun:

1. Made a few baby quilts for our  West Michigan Quilt Guild charity which provides quilts for little preemies at the NICU at our local hospital.  Total count: 1,110. WOW, great job girls and guys on all those quilts you have made for babies!!!

2. Made a few baby doll quilts to go with dolls for the Grand Rapids Santa Claus Girls for kids in need.  Our guild made and collected 440 dolls and quilts, 350 handmade hats!

3. Working on a secret gift for a friend in a bee. I can’t show you this as I will gift it in mid- December.

4. For the past seven years, I have been volunteering for Samaritan’s Purse which packs shoeboxes for kids.

I wondered why the month just flew by. Grand Rapids is the #2 most giving city in the US. A great title to have and be a part of.

I am blessed and grateful. Definitely a month to give thanks and not just on one day.

Artist’s Block

     I read a lot of blogs. I call it my art education-watching , reading, seeing what others are up to and sometimes just being nosy.  And I see a common thread in those artists who have just completed a big event: applying for Quilt National, applying for other important exhibits/competitions or having a solo exhibition. And there is a common event after the big event in that they are just not “doing” the work and have a hard time getting back to the studio for their normal routine. Some are panicked by this, some are depressed, and some are just bothered by this.

     In the world without blogs, facebook and the internet this time period would have gone unnoticed by all -except the artist. I felt a little out of sorts after Artprize so could relate to their feelings. But part of me says-well isn’t this time period normal? Doesn’t the brain need time to re-coup ? The adrenaline high is gone and life returns to a sometimes boringly normal day.  Or just  a day making art which is sometimes hard and lots work and sometimes amazingly fun?

      Me thinks- in my infancy of an artist’s career, that this is just part of it. The time after is normal…to get ready for the next time. And that there is nothing wrong with it.  Just do work-any work and start simple.  I am not minimizing what they are feeling, but instead am wondering if this is your body’s healthy way of responding to all that adrenaline. Slowing down. Settling down and then moving on.

     What do you think? Do you have a crash after a big event? Or do you think it’s an normal response to a busy time?


Stitched Resist Results/Tutorial

I had quite a few people ask me to share my process so I thought I would do a mini tutorial. 
You will need Mx dyes, urea, print paste, soda ash and a paint brush. 

1. Prepare the print paste mix the night ahead. I started with 2 cups of water , 2T urea and 2 T print paste. It was way too runny so I added a few more tablespoons until it was like syrup. It thickened overnight to the consistency of thick honey which was perfect.

2. I had stitched this piece of cotton with my design of choice using upholstery thread. I pulled the threads tight and tied a square knot in about 3 threads at a time.

Stitched and tied piece ready to dye
3. I mixed my soda ash a little stronger than usual-1/4 cup to 1 Liter. I applied the soda ash to the piece using a brush as I really didn’t want it soaked through. I wanted to see more white than actual color in the back ground. 
4. Dyes were mixed stronger than usual too: 30 grams MX dye, 2 T urea and 250 milliliters of water. 
5. I added some of the mixed dyes to the print paste and stirred it thoroughly. I used Prochem’s deep navy, tangerine and loden which is an olivey green. 
Dyes mixed and added to the print paste

6. I again used a paint brush to apply the dye/print paste mixture.

Print paste and Dye mix applied

7. I covered it in plastic wrap so it wouldn’t dry out and let it batch  overnight.

Covered in plastic to batch in a warm place overnight

8. The next day I carefully cut the tied threads and pulled it out prior to rinsing. I really need a seam ripper, tweezers and my small scissors. It was time consuming but exciting to see the reveal.

Pulling out the threads prior to rinsing

9. Then I rinsed in cold, then hot and popped it in the washing machine with a little synthrapol.

final piece

close up

I didn’t look at my surface design notebooks or the many books I have….I was impatient and was just winging it but it turned out really pretty.  I am sure the many books out there have more concise instructions but this is how I did it!

I am going to pick out some of my hand dyed embroidery threads and have a new stitching project to work on.